When it comes to fun baking trends, it definitely looks like cake pops are here to stay! So, I wanted to share a very easy tutorial with you on how to make your own cake pops at home. With a cake pop costing roughly $2+ in-store, making them at home is the only money saving way to enjoy these delicious treats at a very low cost to you.
In the end, each homemade cake pop costs roughly $0.40, which means you can make 5 cake pops for the in-store price of 1!
What you will need:
- 1 box of your favorite cake mix prepared and baked
- 1 cup of your favorite frosting
- Cake Pop Sticks – I use Wilton Lollipop Sticks
- Candy Melts – I use Wilton Candy Melts
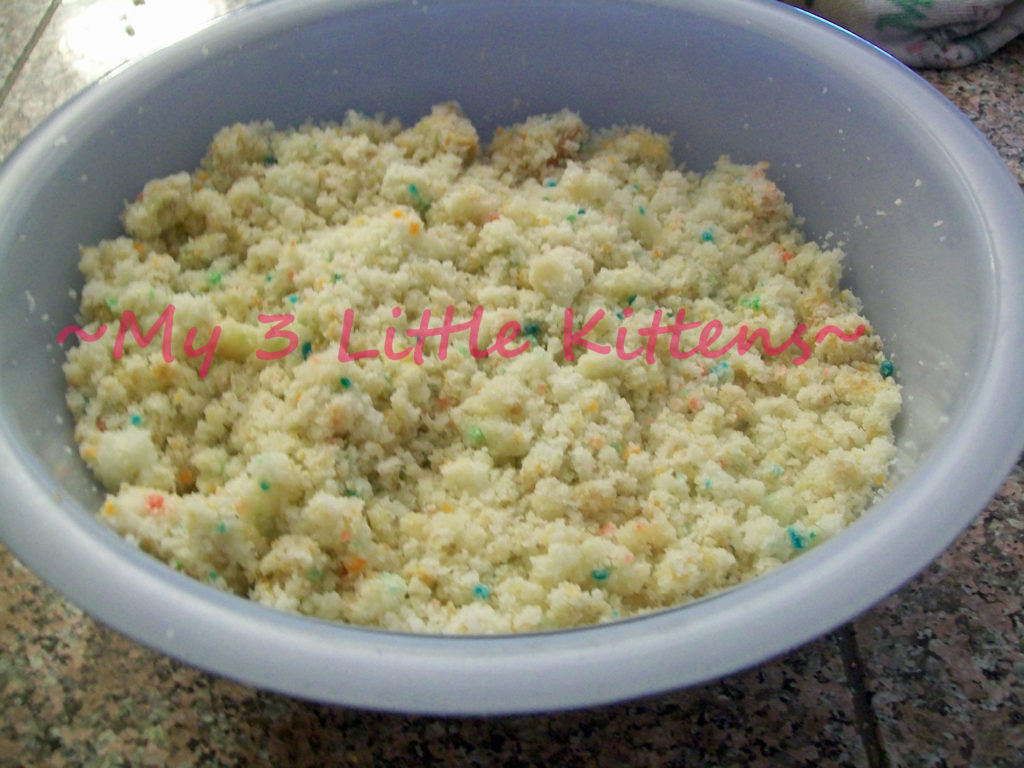
♥ After your cake has completed cooled, break it up into a bowl and add the 1 cup of frosting. Mix well.
♥ Set up a cooking sheet lined with parchment paper to place your cake pops on.
♥ Roll you cake pops into a ball and place on the parchment paper at least 1 inch apart. {Each cake pop should be roughly 2 tablespoons of cake/frosting mixture}.
♥ After rolling your cake pops, place sheet in the fridge for 2 hours {This creates a firmer consistency to insert the sticks into}.
♥ Once cooled, bring out the cake pops and using the sticks, push a stick end about halfway through the pop and remove. {This will leave a stick size hole perfect for filling with the melted candy}
♥ Melt your candy in a heat-safe container. {I used Wilton Disposable 12 Inch Decorating Bags because I can easily pipe the candy straight into the hole from the bag and they are microwave safe}![]()
♥ Fill each cake pop hole with melted candy and immediately insert stick. {Melted Candy hardens extremely quickly, so you need to pipe and immediately insert. If you didn’t use a decorating bag, then you can simply dip each stick into the melted candy and insert} 
♥ After all the cake pops have sticks inserted, place them back in the fridge for 2 hours.
♥ Melt the remaining candy and insert each cake pop until it is covered with candy and remove. You will need to let the excess run off each cake pop prior to setting them back onto the parchment paper to harden.
♥ Once all cake pops have been covered with candy, set them back into the fridge until serving.
These particular cake pops {pictured} are ones I brought to my Son’s Preschool for his snack day and they were a huge hit! I really recommend trying these fantastic treats for birthday parties, sleepovers, or any occasion that calls for a delicious cake dessert! Enjoy ♥

Kristyn Martin says
Great post! I plan on making cake pops for Fathers Day, so this will really come in handy!
Amanda F says
Looks like a great idea! I will have to try something similar! Thanks for sharing.
candice says
yummy! thanks for sharing. haven’t tried to make these just yet. 🙂
Krystle says
These look so delicious!! I am always up for baking something new!
Laurie P says
These are just awesome! I think they would be perfect to make for the birthday party coming up next month! Thanks for sharing!
Suzanne Skillman says
Amazing ~ I thought I would have to buy that machine to make great looking cake pops but thanks to you we’ll be making them this weekend. 🙂
Elizabeth Matthiesen says
these look good, I have often wondered how they were made – now I know, thanks.
Darlene Schuller says
So simple! Yet, something I never would’ve thought of..
kathy downey says
Thanks these look so good,i will try these with the grandkids next time they visit
kathy downey says
These are the best,made them with the kids we ad such a fun afternoon
Treen Goodwin says
wow these looks amazing thanks for sharing 🙂 a must try for sure 🙂
kathy downey says
I plan on making cake pops for Mothers Day,this will help thanks